The Quarks are done. Final steps here…
Remaining Steps
What was left to do was to
- install the binding posts
- install the crossover circuitry in the cabinet
- install the port tube
- put in polyfill (damping material)
- glue on the baffles
- install the drivers
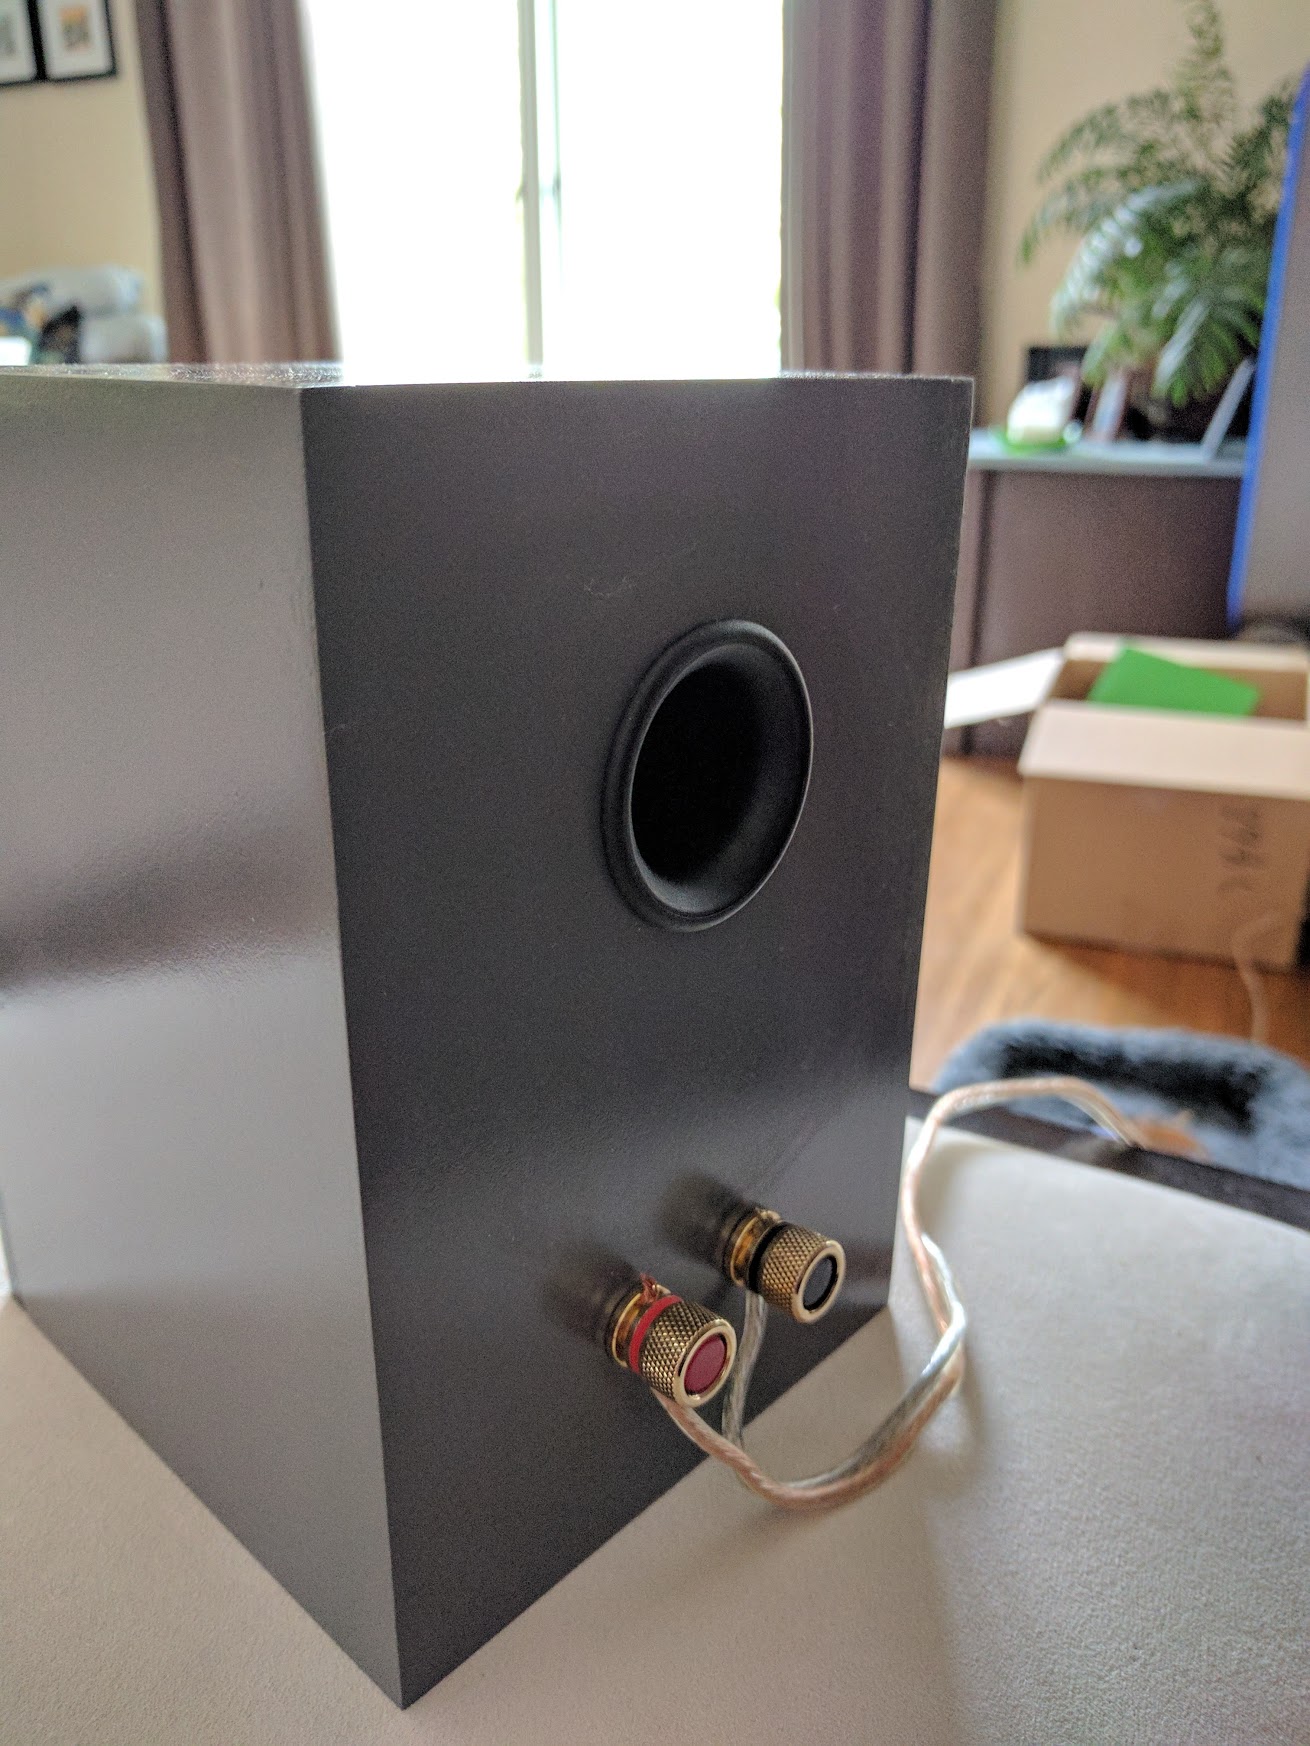
Binding Posts & Crossover
Installing the binding posts is quite easy. Unscrew the nut and remove the washer that is supposed to hold the tab with the wire in place on the inside. Then put the cabinet on a surface facing front down (baffles still not installed) and tap them in place. I used a rubber mallet and a piece of scrap wood, to avoid hitting the posts directly.
One Caveat:
The binding posts also have holes that I presume are used for banana plugs (but I also use them to attach speaker wire without a banana plug). Before tapping the binding post in place you want to make sure it is properly aligned, with the holes facing up/down or you might have a hard time plugging in banana plugs without them touching in the middle…
See picture below.
Installing the Crossover
Since I had previously assembled and test-fitted the crossover circuitry, all that was left to do was to hot-glue it into the cabinet. The challenge here is that the cabinets are tiny and it is hard to reach inside and get everything in place. The following approach proved to work:
- Attach the crossover wiring to the binding posts. You will have to put all the crossover components into the cabinet, but since they are not glued down yet, you can move them around, out of the way. Put the wire tabs (that you previously soldered the crossover wires to) onto the binding posts, then add the washers and nuts. Push things down the binding post as far as possible and hand tighten. Finally, make sure things are snug: I used needle-nose pliers to tighten the nuts, since you won’t be able to fit a wrench into the cabinet.
- Untangle the crossover wires.
- Hot-glue the large inductor onto the bottom inside the cabinet (in my case in front of the binding posts). — Note that you can’t get the inductor out of the cabinet anymore, since the wiring is already attached to the binding post, so the best approach is to use a glue gun to put hot glue onto the bottom of the standoffs of the inductor and press it in place. For good measure I added some more hot glue, as good as I could, after pressing things in place. But space is tight, so it is hard to get a glue-gun in.
- Hot-glue the tweeter components of the crossover to the back of the cabinet. Again, you can’t fit a glue-gun in there, so the best way to do this is to lift the small inductor (which already has the resistor and capacitor glued to it from when I assembled the crossover) out of the cabinet, apply hot glue and then press it in place, holding it until the hot glue sets (only a couple of seconds). During this step make sure that you don’t end up blocking the hole for the port tube in the back.
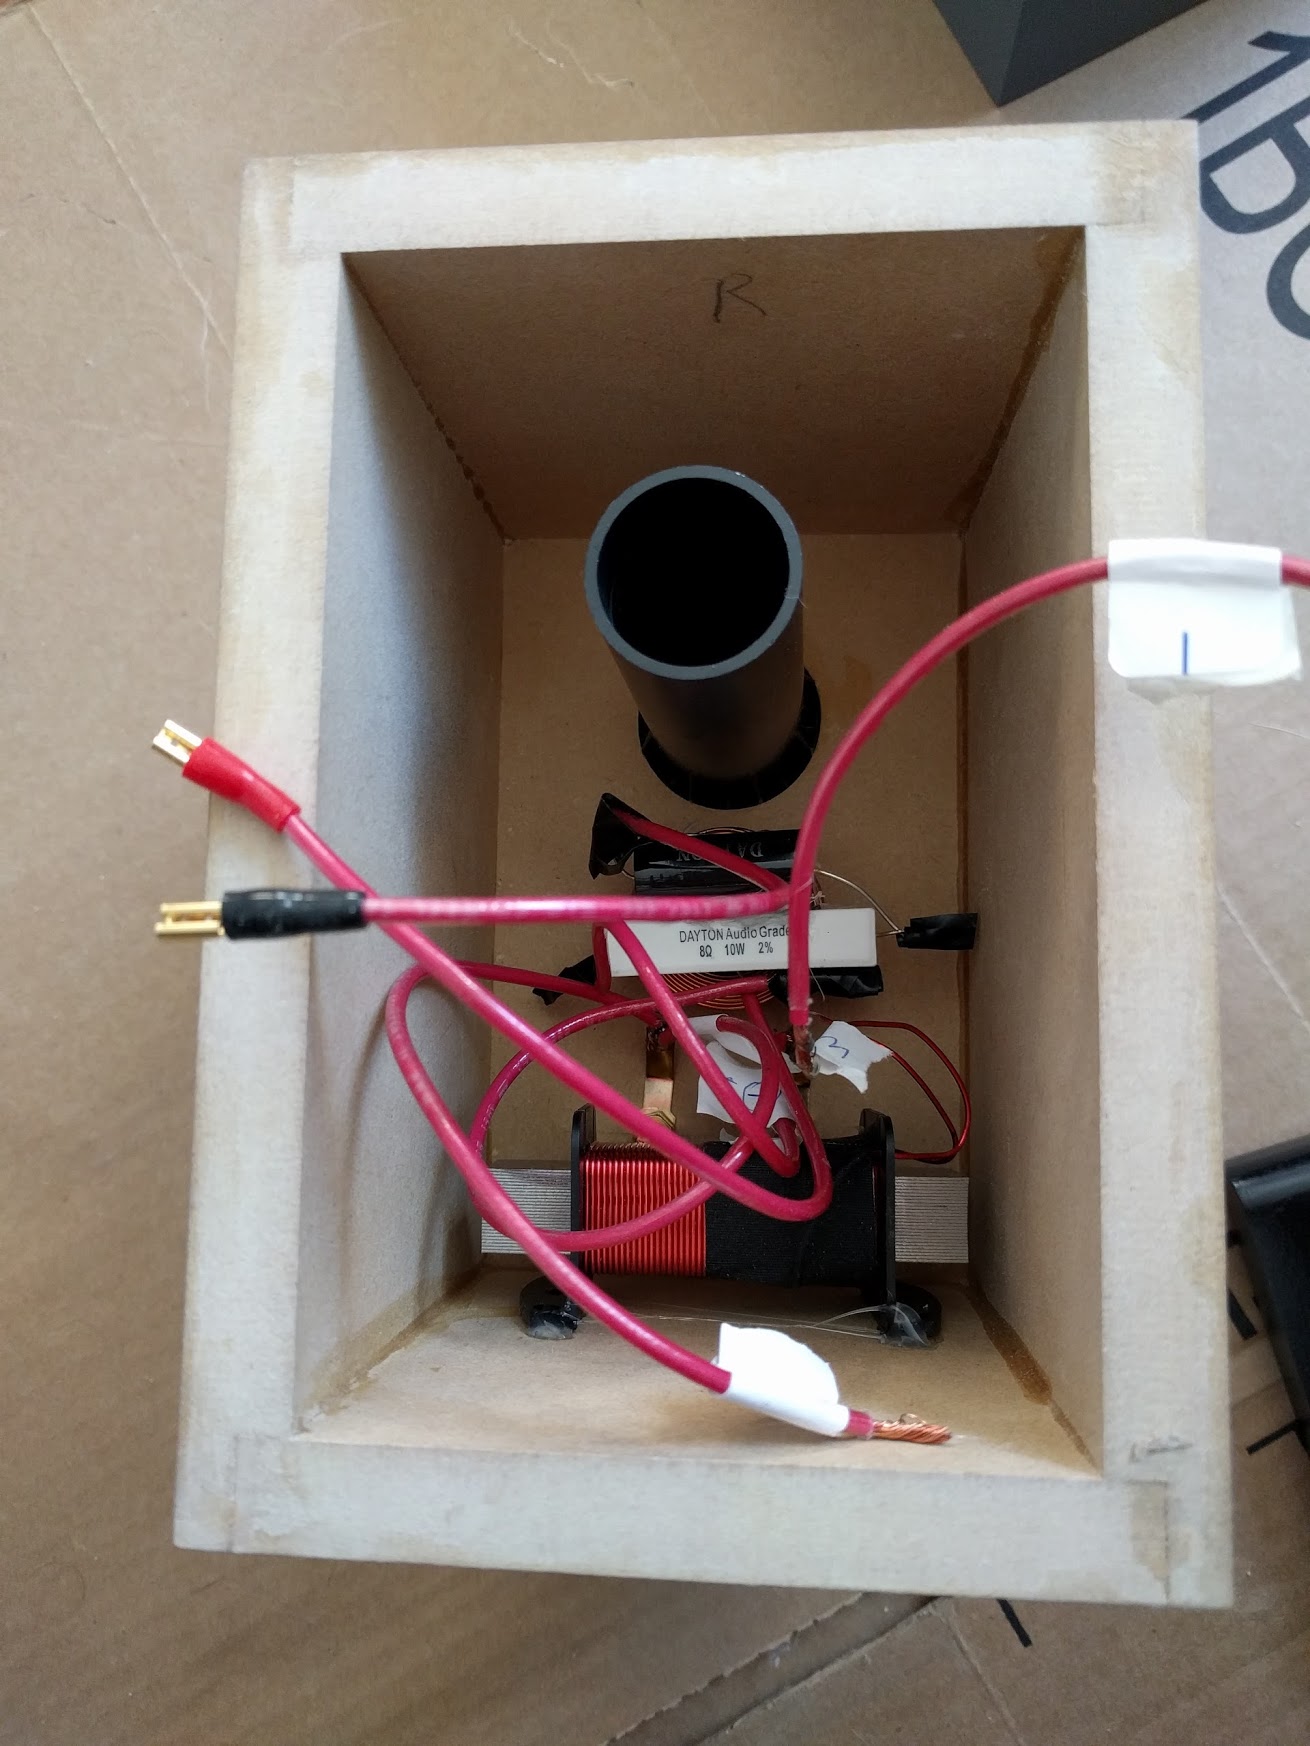
Installing the Port Tube
I would recommend that you do this after getting all the crossover components in place. It is quite crammed inside the cabinet and doing this afterwards gives you more room to maneuver while installing the crossover as described above.
Other than that this is quite simple. Just turn the cabinet upside-down, push the tube in place as far as it will go and then put a piece of scrap wood over the tube and use a rubber mallet to tap it in place. — This is also a good test to see whether the crossover is properly secured. — If your tapping causes any of the components to come off the cabinet, you get to redo things… 🙂
Once the crossover and the port tube are in place, you get something like this:
Adding Polyfill — How Much?
Polyfill is basically pillow stuffing. The question is how much to add. Jeff Bagby’s build log just says “a small handful” at “my usual density”. The assembly tips on DIY Soundgroup recommend to “lightly fill” sealed speakers and to fill the upper part of ported speakers (which the Quarks are) and put some behind the woofer.
With the Quarks being that tiny I concluded that all these instructions all come down to “put polyfill in there, approximately as high as the port tube but don’t compress it, and make sure you don’t block the port tube entry”.
I probably erred on the side of too much stuffing, but since too much stuffing supposedly results in “slightly boomy bass” I figured that’s probably a safe thing to do for the Quarks.
And if it is too much fill, you can always unscrew the woofer and remove some later (or add some more…).
Tip:
You want to make sure that you have labels on all your wires you need to connect to the tweeter and the woofer, because with the polyfill in place you can’t see the crossover anymore…
Gluing on the Baffle
Intermission…
Before gluing the baffle in place, I decided to test the speakers once more, to make sure no crossover wires had come lose. For that I used test leads (short cables with aligator clips on both ends) to connect the woofer. DIY Soundgroup provided slip-on contacts that you crimp on the wire for the tweeter, so connecting these was easy.
Testing meant playing a 440Hz tone and making sure it comes from the woofer, and a 4400Hz tone and making sure it comes from the tweeter. http://www.onlinetonegenerator.com comes handy for these things.
Baffle Glue-On
In most cases you probably want to glue on the baffle even before you start to finish the cabinet. — Since the Quarks are tiny and I wanted the baffle to be in a different color than the cabinet I decided to do this step after finishing and installing all the components inside the cabinet.
The two challenges with this approach are
- baffle alignment
- ruining the finish with glue squeezing out.
I abandoned my initial plan to use masking tape because that made it difficult to check for proper alignment of the baffle on the cabinet.
Instead I used the following approach:
- Squeeze some glue into a small plastic bowl.
- Use a small brush (the one I used to glue-coat the cabinets with) and carefully brush glue on the cabinet edges, but make sure the glue is only on the inner 2/3s of the edge. — The hope was that brushing on the glue would reduce squeeze out, and having glue more towards the inside would cause glue to squeeze out on the inside rather than the outside.
Also, instead of clamping, I used weights from a set of dumbbells to squeeze together the glue joint. This turned out to work very well and had two advantages:
- The dumbbell weights are rubber-lined, so they are not likely to mar the baffle finish.
- Once putting the weights in place, you can still move the baffle around to get the perfect alignment.
Turns out that there was very little squeeze out, which I immediately cleaned up with a damp paper towel (apparently glue does not stick well to spray-painted surfaces).
I let things sit like this overnight:
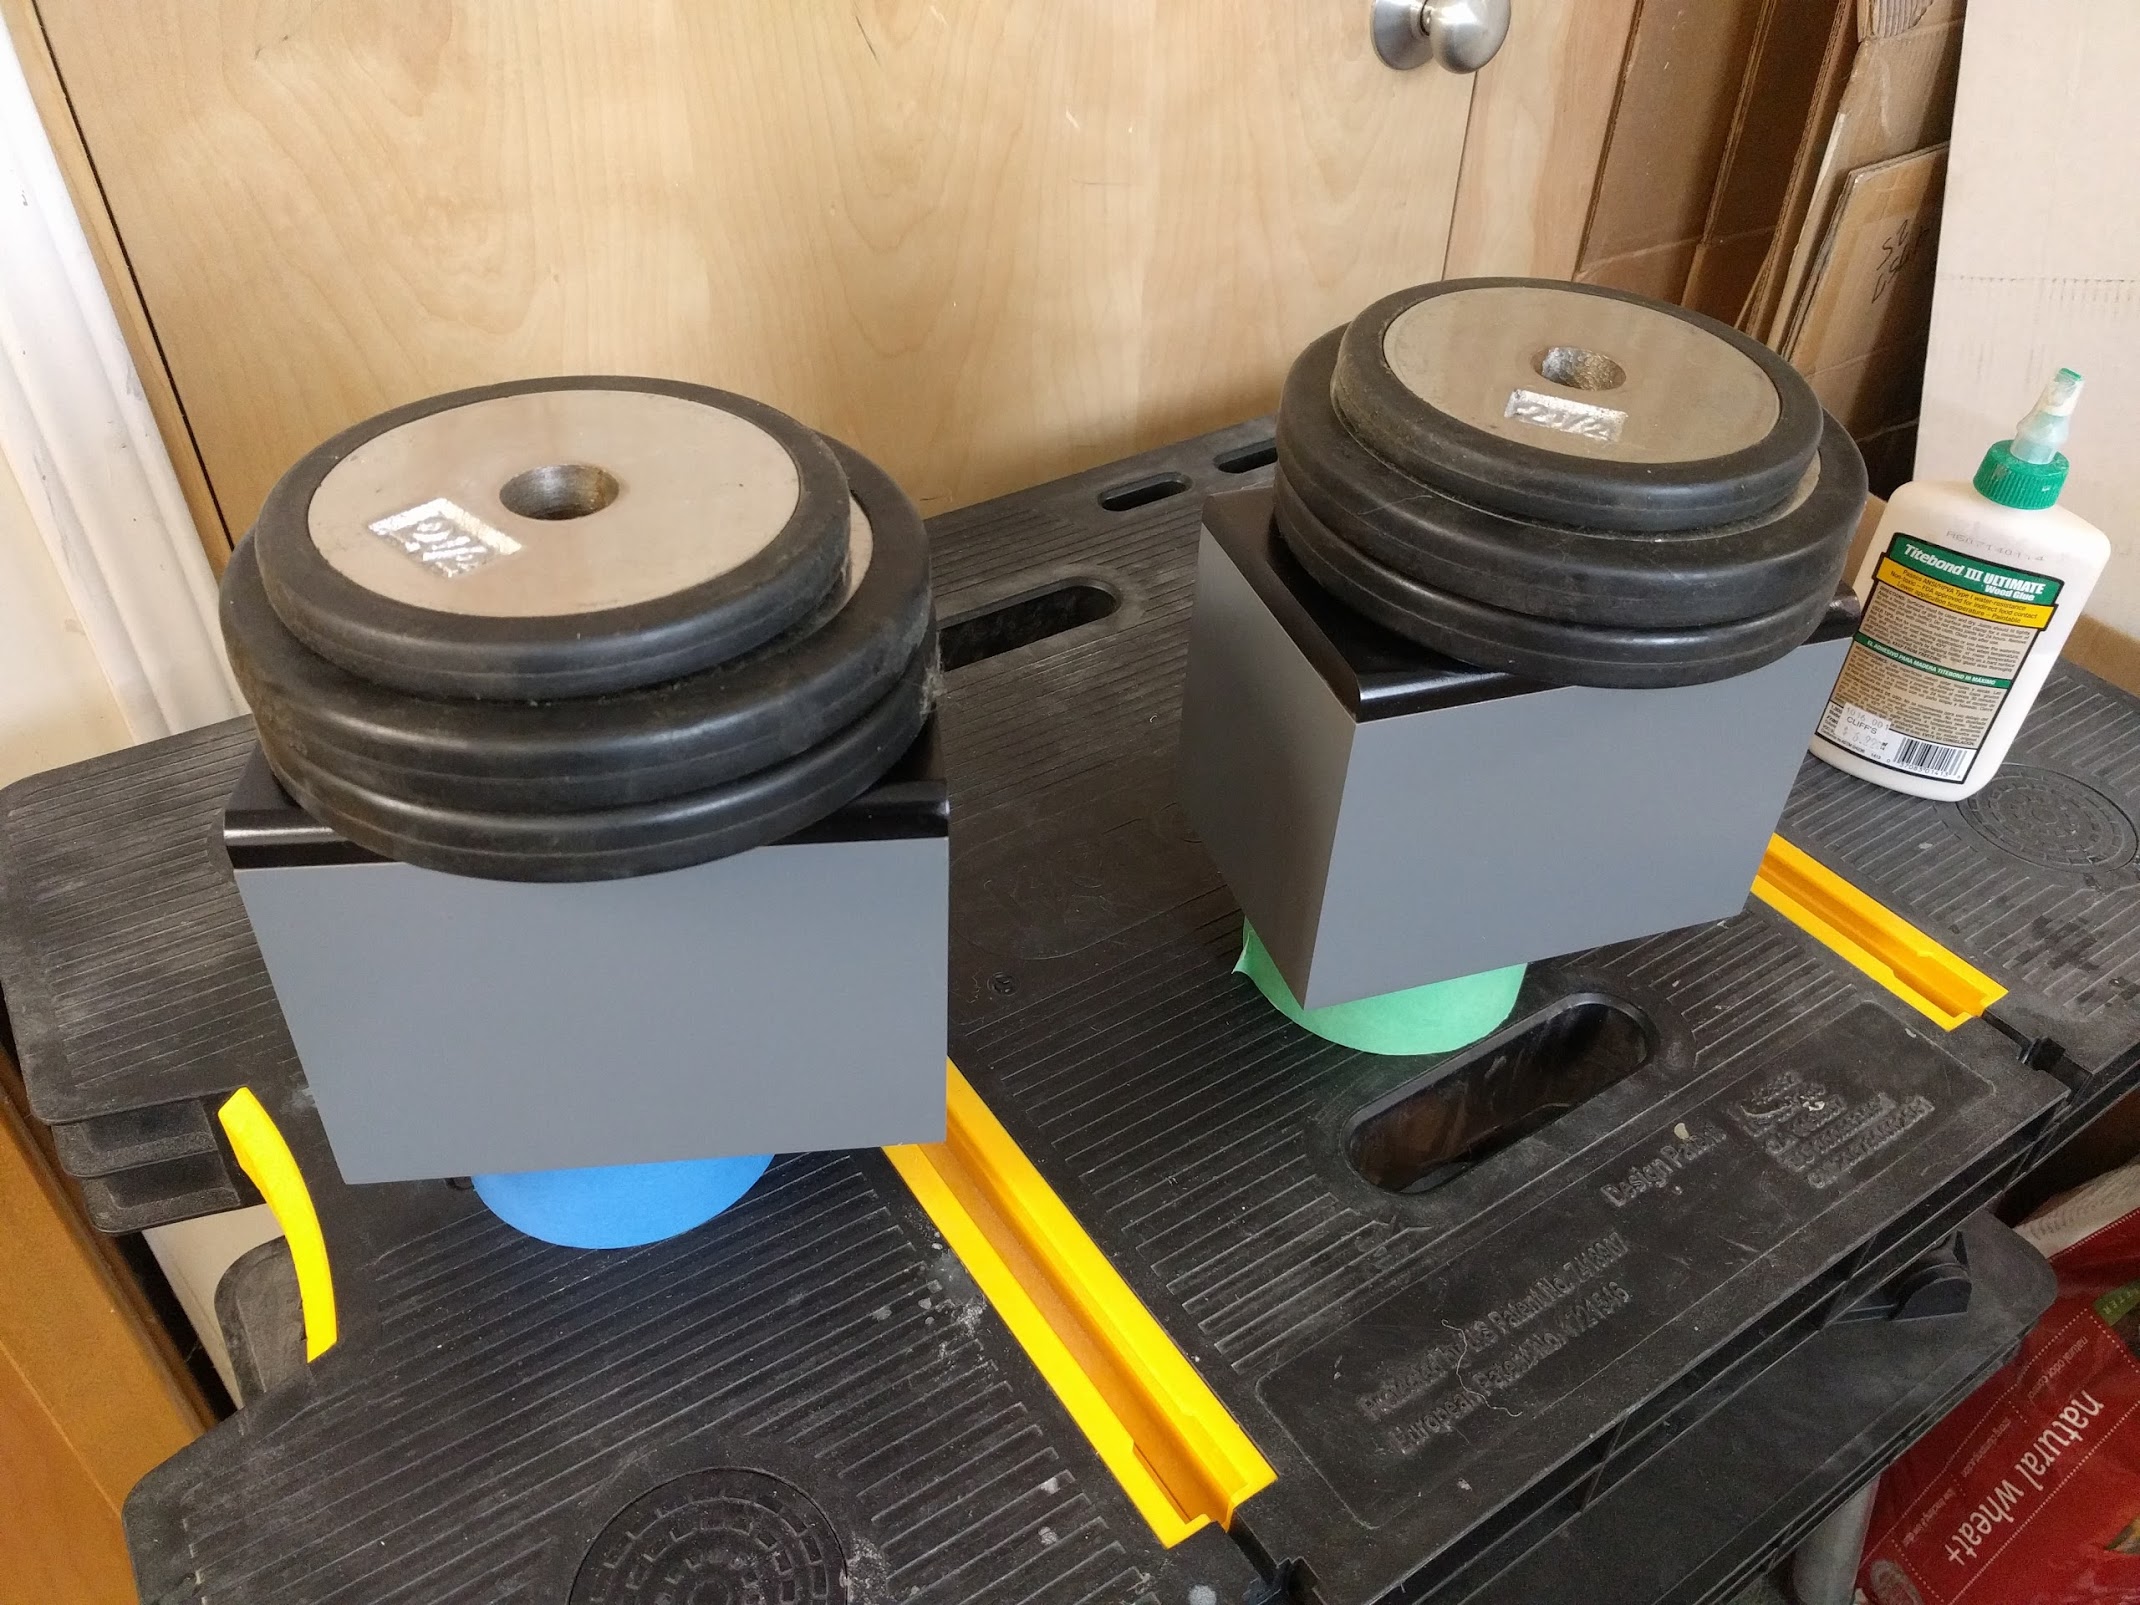
The blue and green cylinders underneath each speaker are rolls of masking tape. — Remember that at this point you already have the binding posts installed, so you can’t lay the cabinets flat on their backs anymore.
The concern I had was that there would not be enough adhesion to keep the baffle in place, but things worked out fine (my test in the morning was to grip the baffle and lift each speaker up by the baffle…).
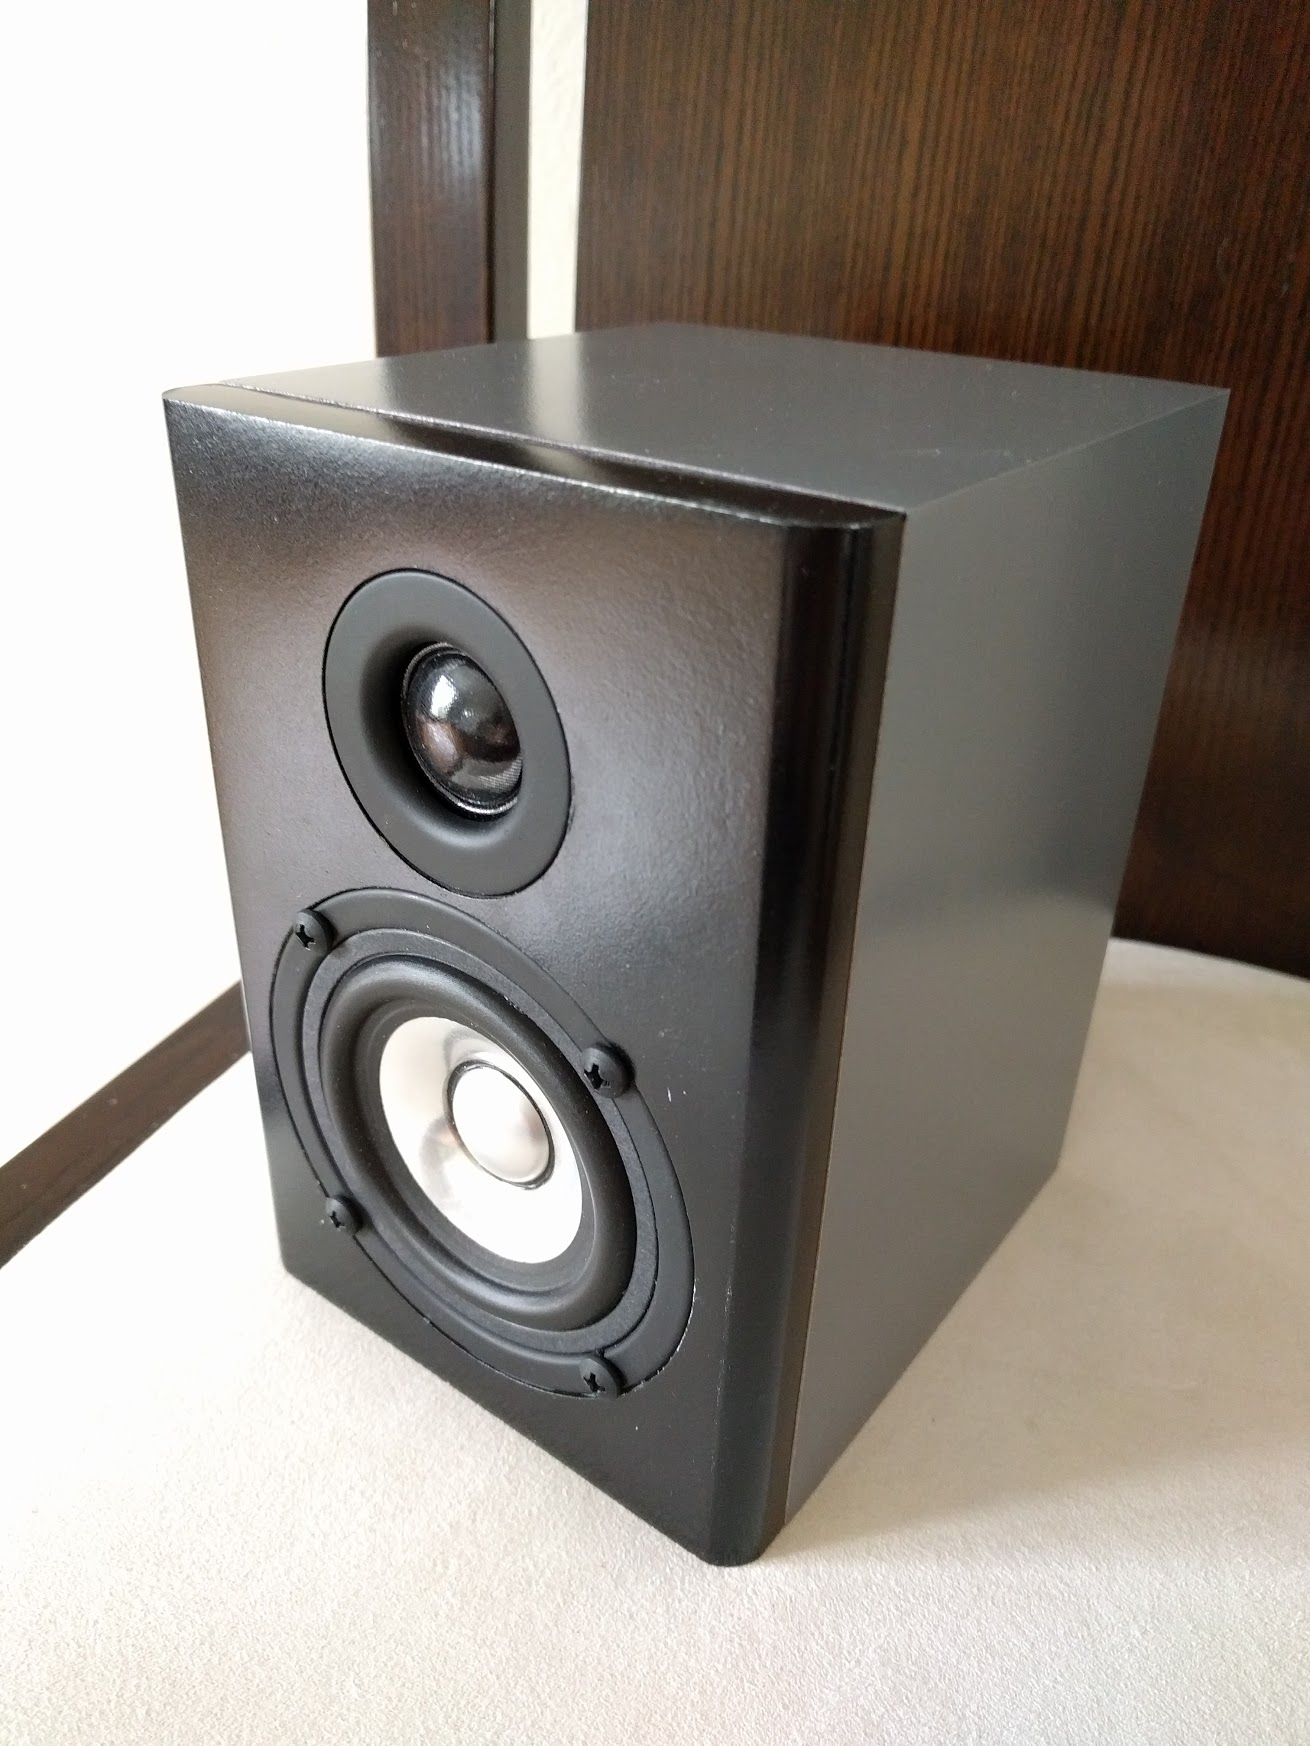
So here is what we have now:
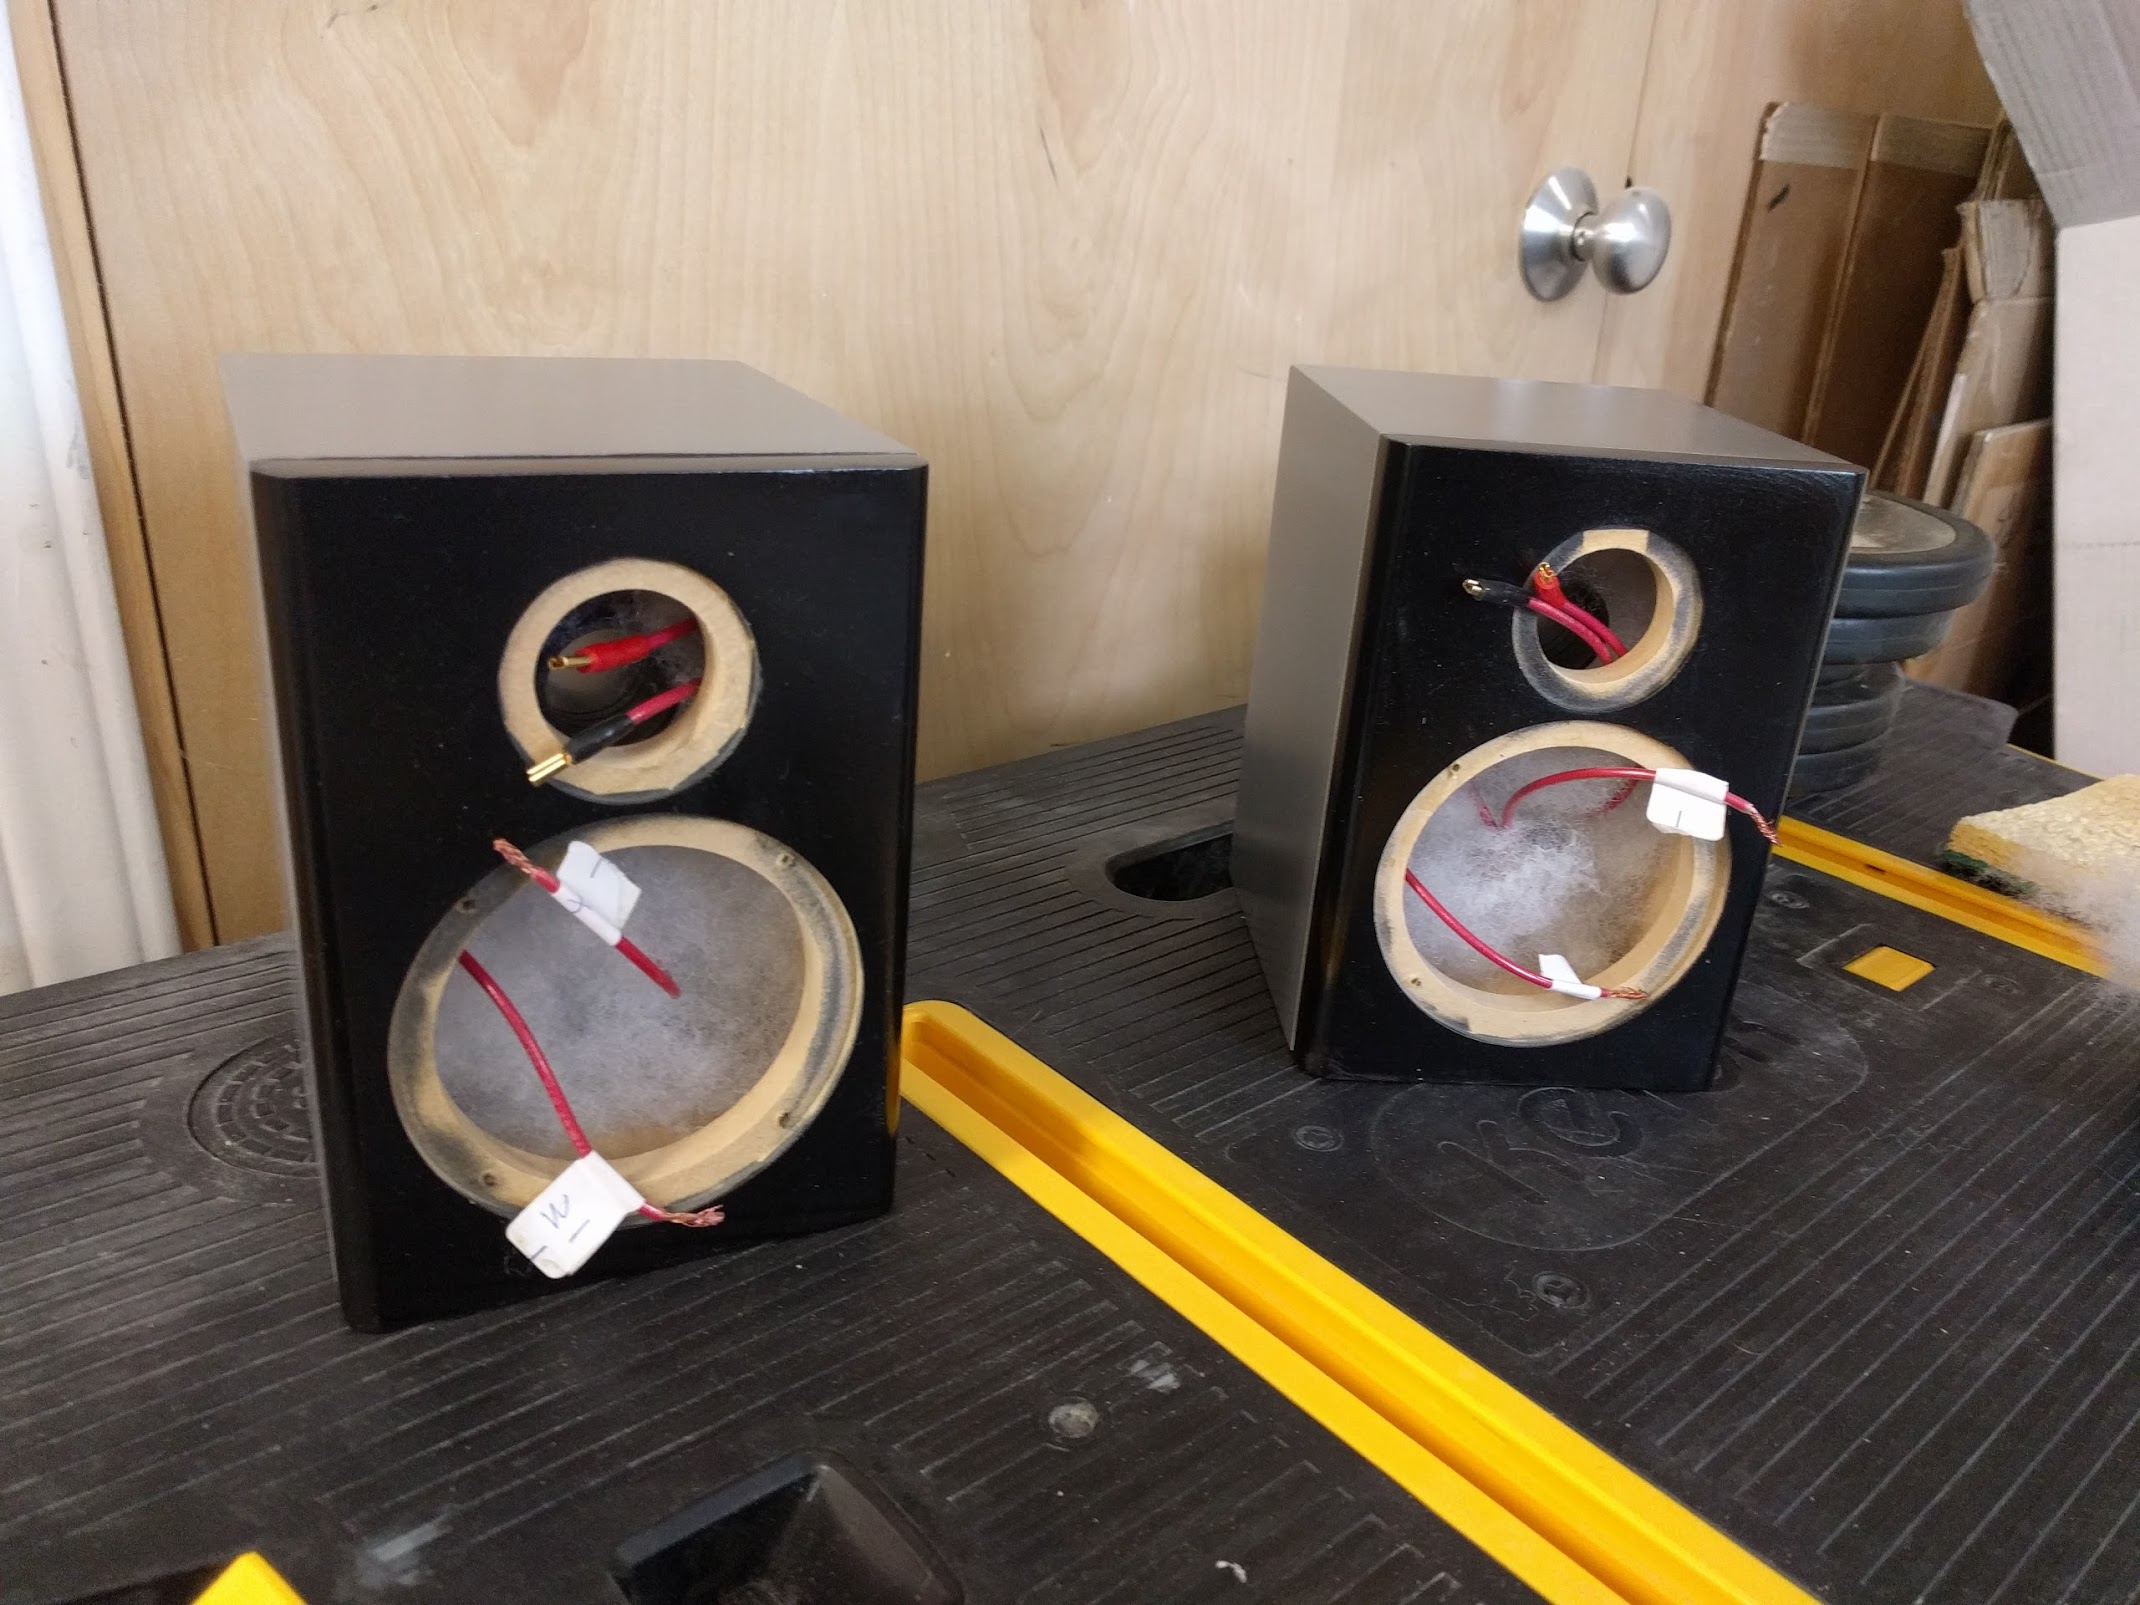
Getting close to being done.
Installing the Drivers
Woofer
The woofer was trickier to install than the tweeter. First, before you do any kind of soldering, I would recommend that you install the stick-on seal that goes around the edge of the woofer.
The soldering was the fun part: Have you ever tried to solder a wire to something cylindrical, standing it up on its side? — I am probably not very good at soldering, but here is how I solved the problem: I put the speaker on a roll of electrical tape that I laid down sideways (to prevent it from rolling around, tipping over) and used the alligator clip of a test lead to hold the wire in place until it was soldered on. Also, I decided to put a little piece of cardboard (part of the boxes the tweeters come in) underneath the solder tab. — If I mess up, I don’t want solder to damage the speaker.
So this is what I got:
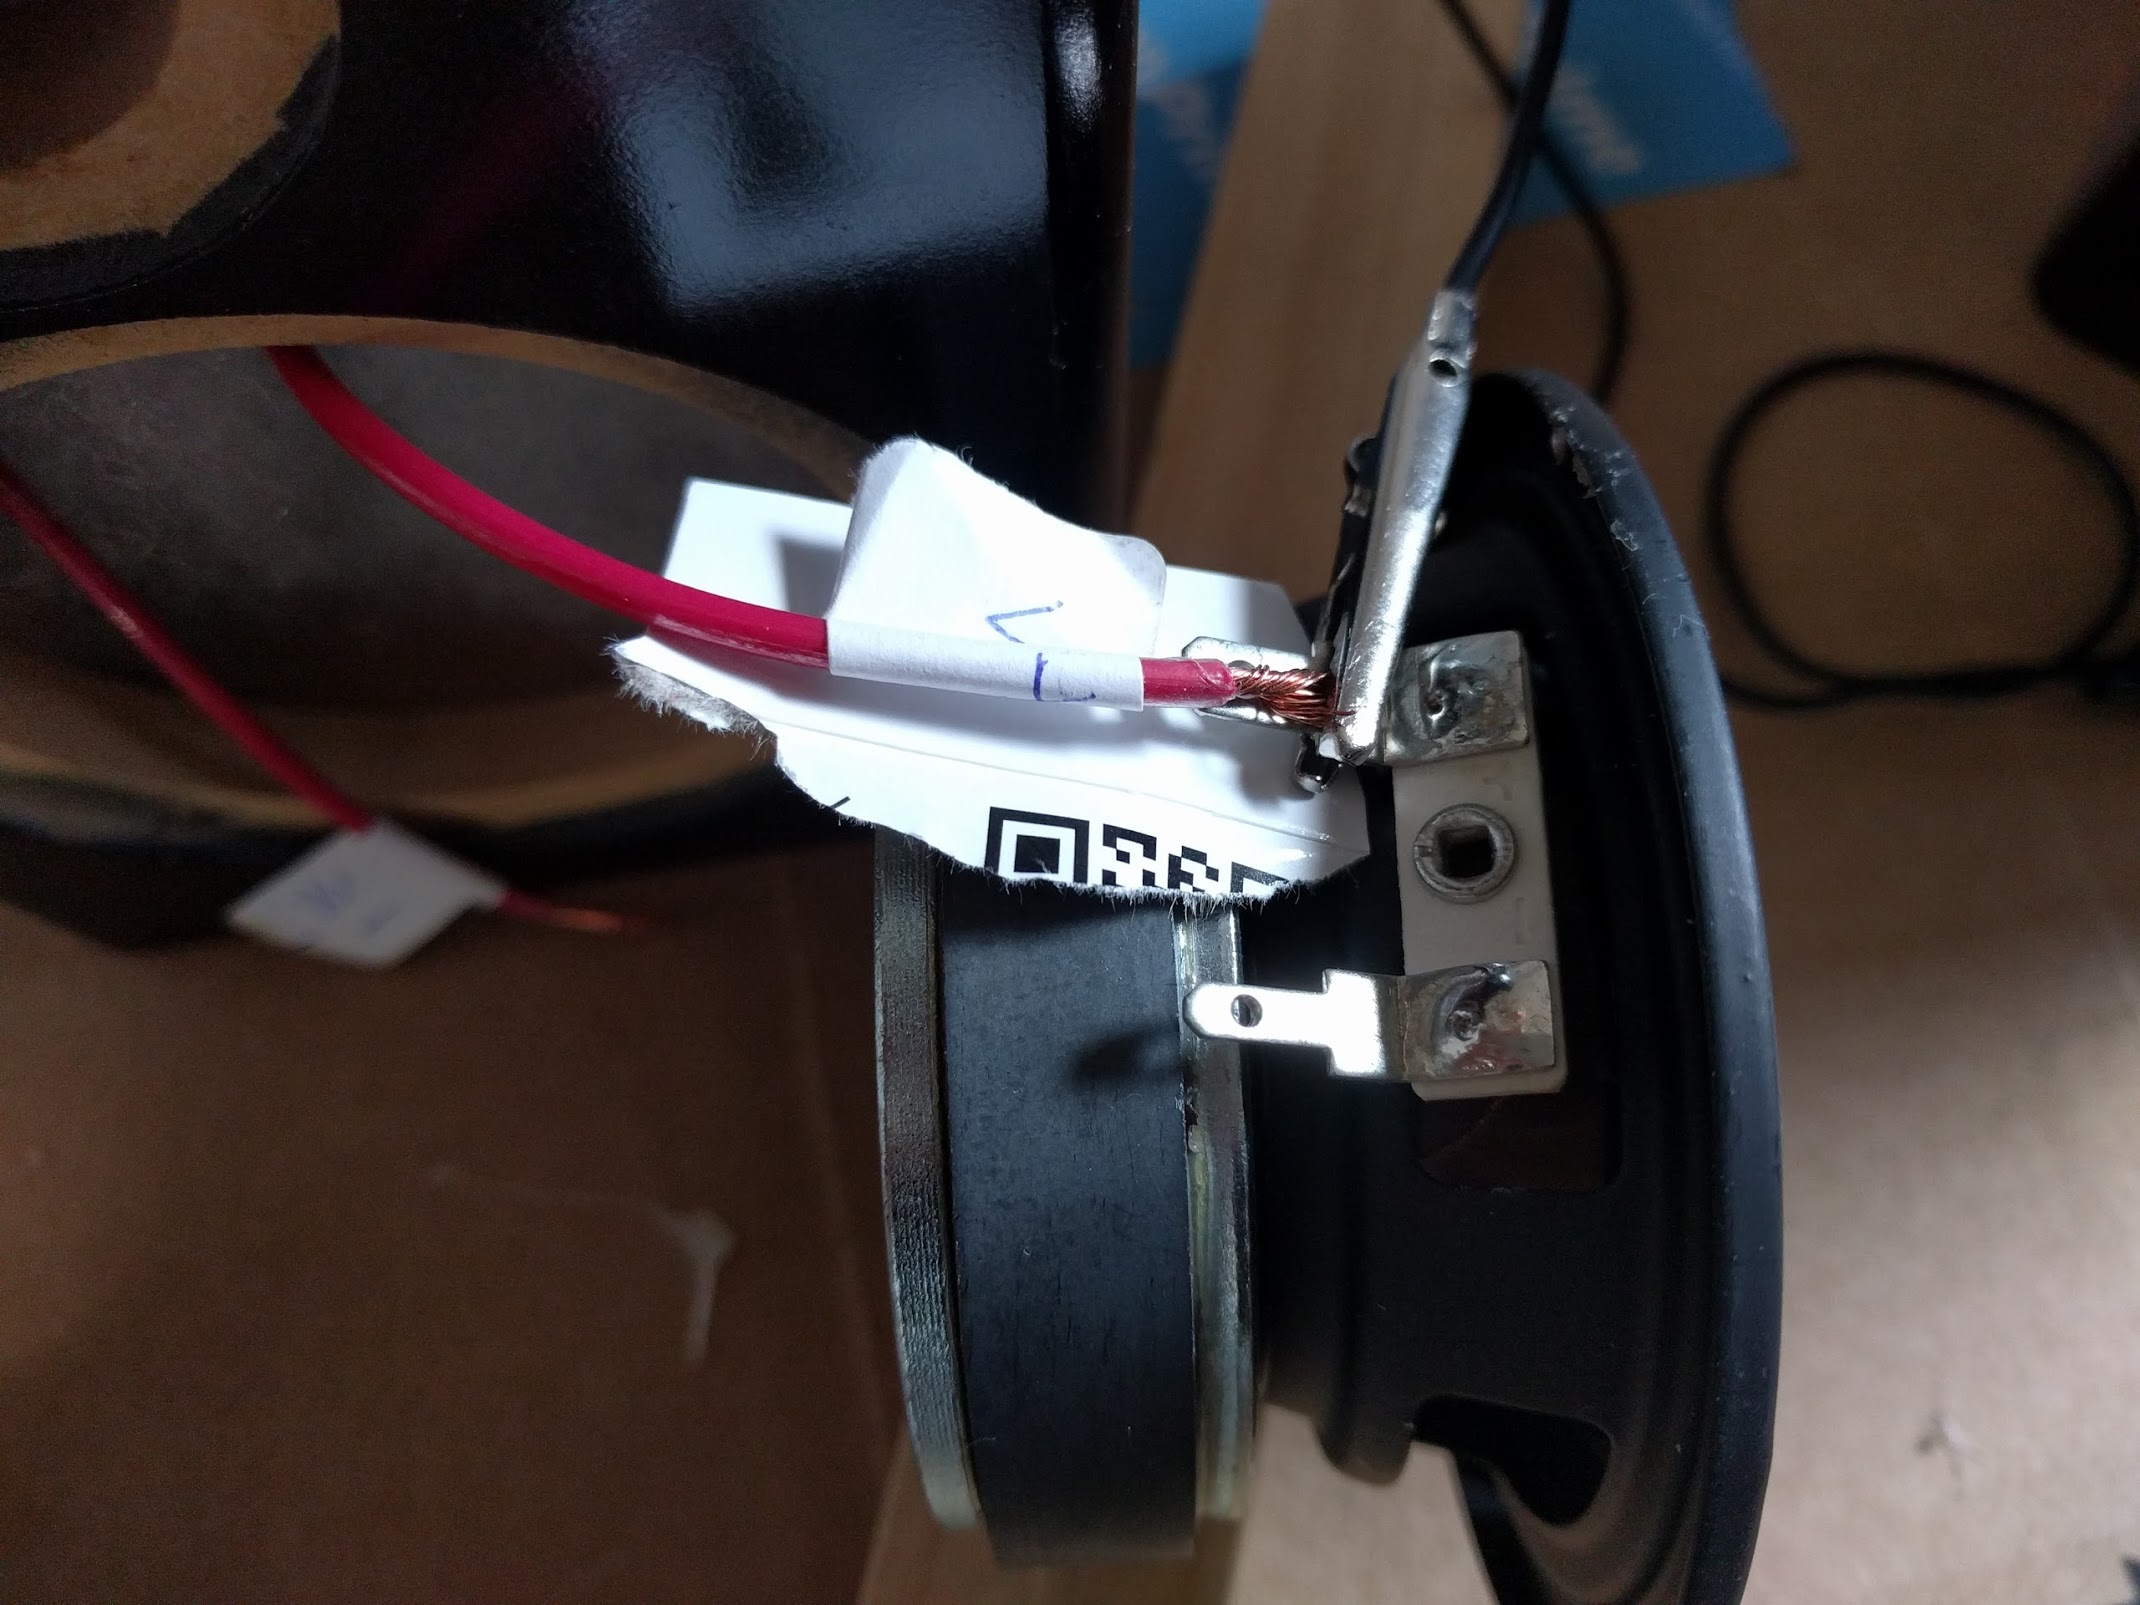
This worked but it makes me wonder if there are better ways of doing this…
I had already test-fitted the woofer previously and pre-drilled some holes for the screws that hold it in place, but the woofer is a fairly tight fit as well. And unfortunately I ended up scratching one of the baffles a little, but finally I got everything in place…
Tweeter
Looking at the Quarks page at DYI Soundgroup, there is the following quote:
“The tweeter is a tight fit and will need to be pushed in pretty hard.”
Well, if you look at the pictures in my previous post, this remark made me put masking tape on the inside of the tweeter and woofer holes before I started spray-painting the baffles. I figured that if it is a tight fit I don’t want to get any paint in there.
This seems to have worked quite well since the tweeters were installed in a snap: Plug in the wires and press them in place. It was definitely very snug but no problem pushing the tweeters in place.
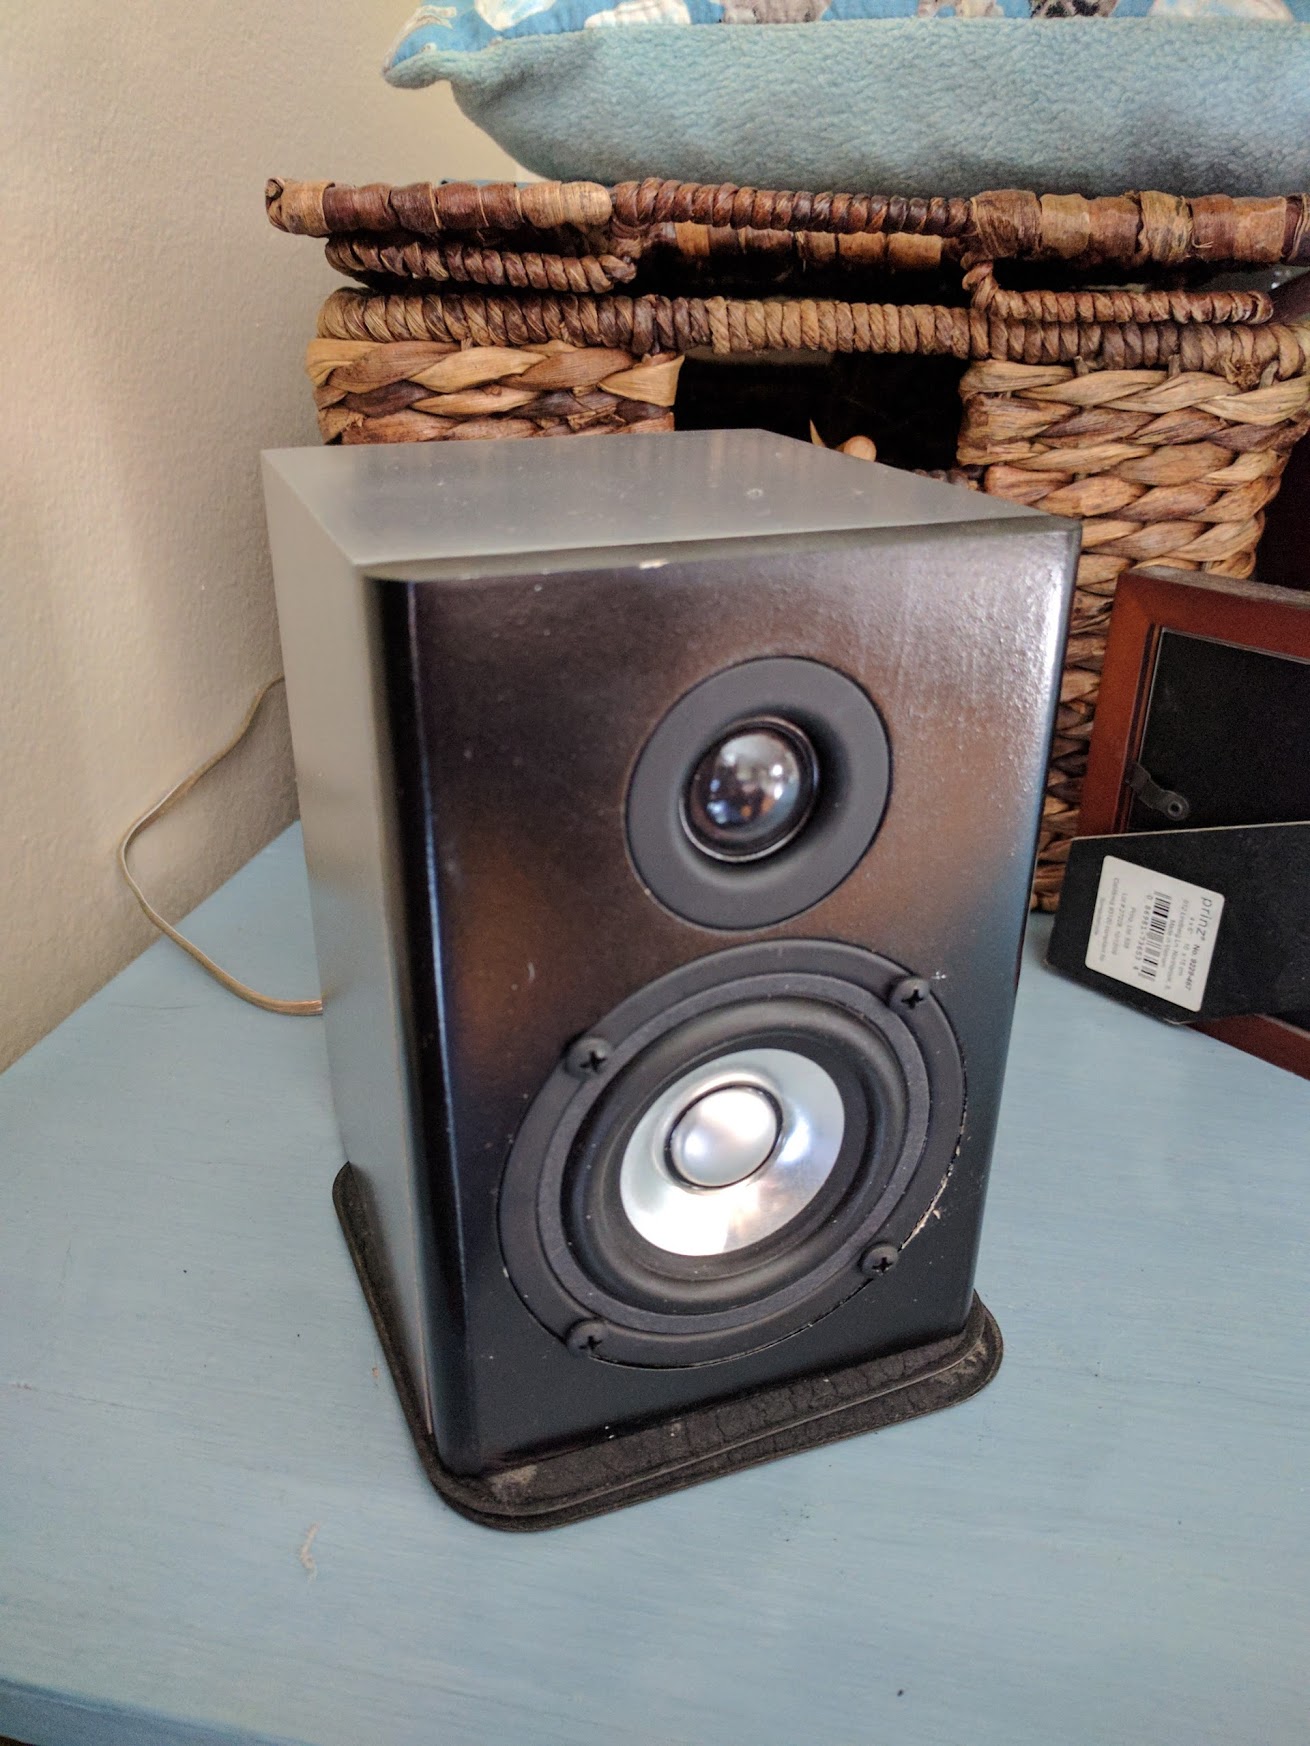
End Result
I’ll probably write some summary on how the now finished speakers sound (better… ;)), but for now here is the result of my endeavors. They are set up in the sitting area of our living room, which is not that large, and they do a good job filling the space with sound. — Setup is preliminary, tho…