Almost done with the Voxel build. Time to wrap it up…
After the plate amplifier enclosure was completed and everything was spray painted, it was time to wrap-up this project and finish the Voxel.
Preparing to Install the Driver
In order to prevent the acoustic equivalent of a short-circuit, the driver needs to make an airtight seal with the subwoofer cabinet. The most mundane way of doing this is by applying some weatherstripping around the edge of the driver. Next, the driver needs to be properly aligned on the cabinet so that the four screws that affix it onto the cabinet are not crooked.
This was actually fairly easy. First I poked holes through the weatherstripping by pushing screws through the driver screw holes. Next, with the cabinet on its back (i.e: hole for driver facing up), I put the driver into its mounting hole in the cabinet. Then I used my trusty right-angle guide that you might have spotted on some earlier pictures and rotated the driver until the screw holes were properly aligned on parallel lines to the sides of the cabinet. All you have to do now is use the tip of a screw and push down through the screw holes, to mark the cabinet.
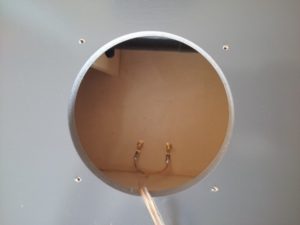
Remove the driver again and with a battery operated drill, drill some 1/8″ holes through the baffle in the spots where you see the markings from the screws:
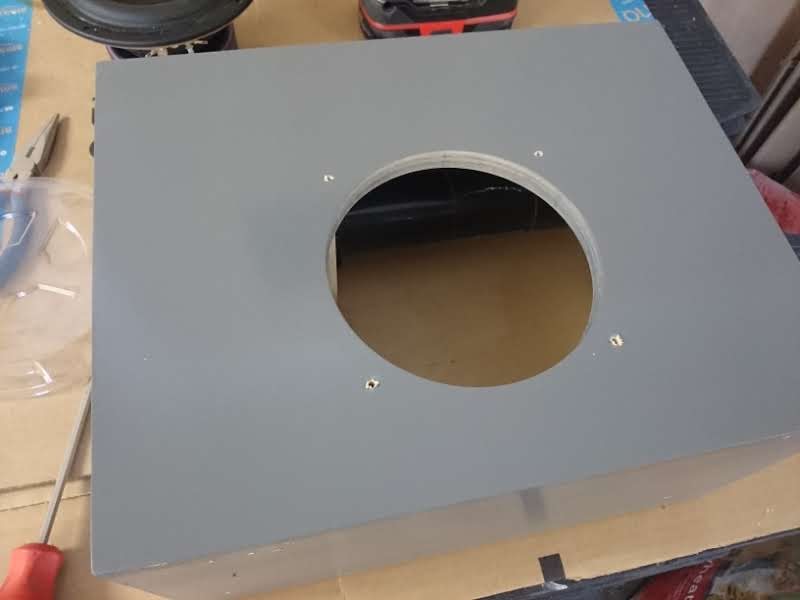
If you look carefully, you can also see the port tube inside the Voxel cabinet.
Note:
I used 3/4″ long screws to attach the driver even tho the cabinet is made from 1/2″ thick plywood: There is also the rim of the driver that adds thickness (since I did not bother countersinking the driver), and even if the screws stick out a little on the inside, nobody will notice… 😉
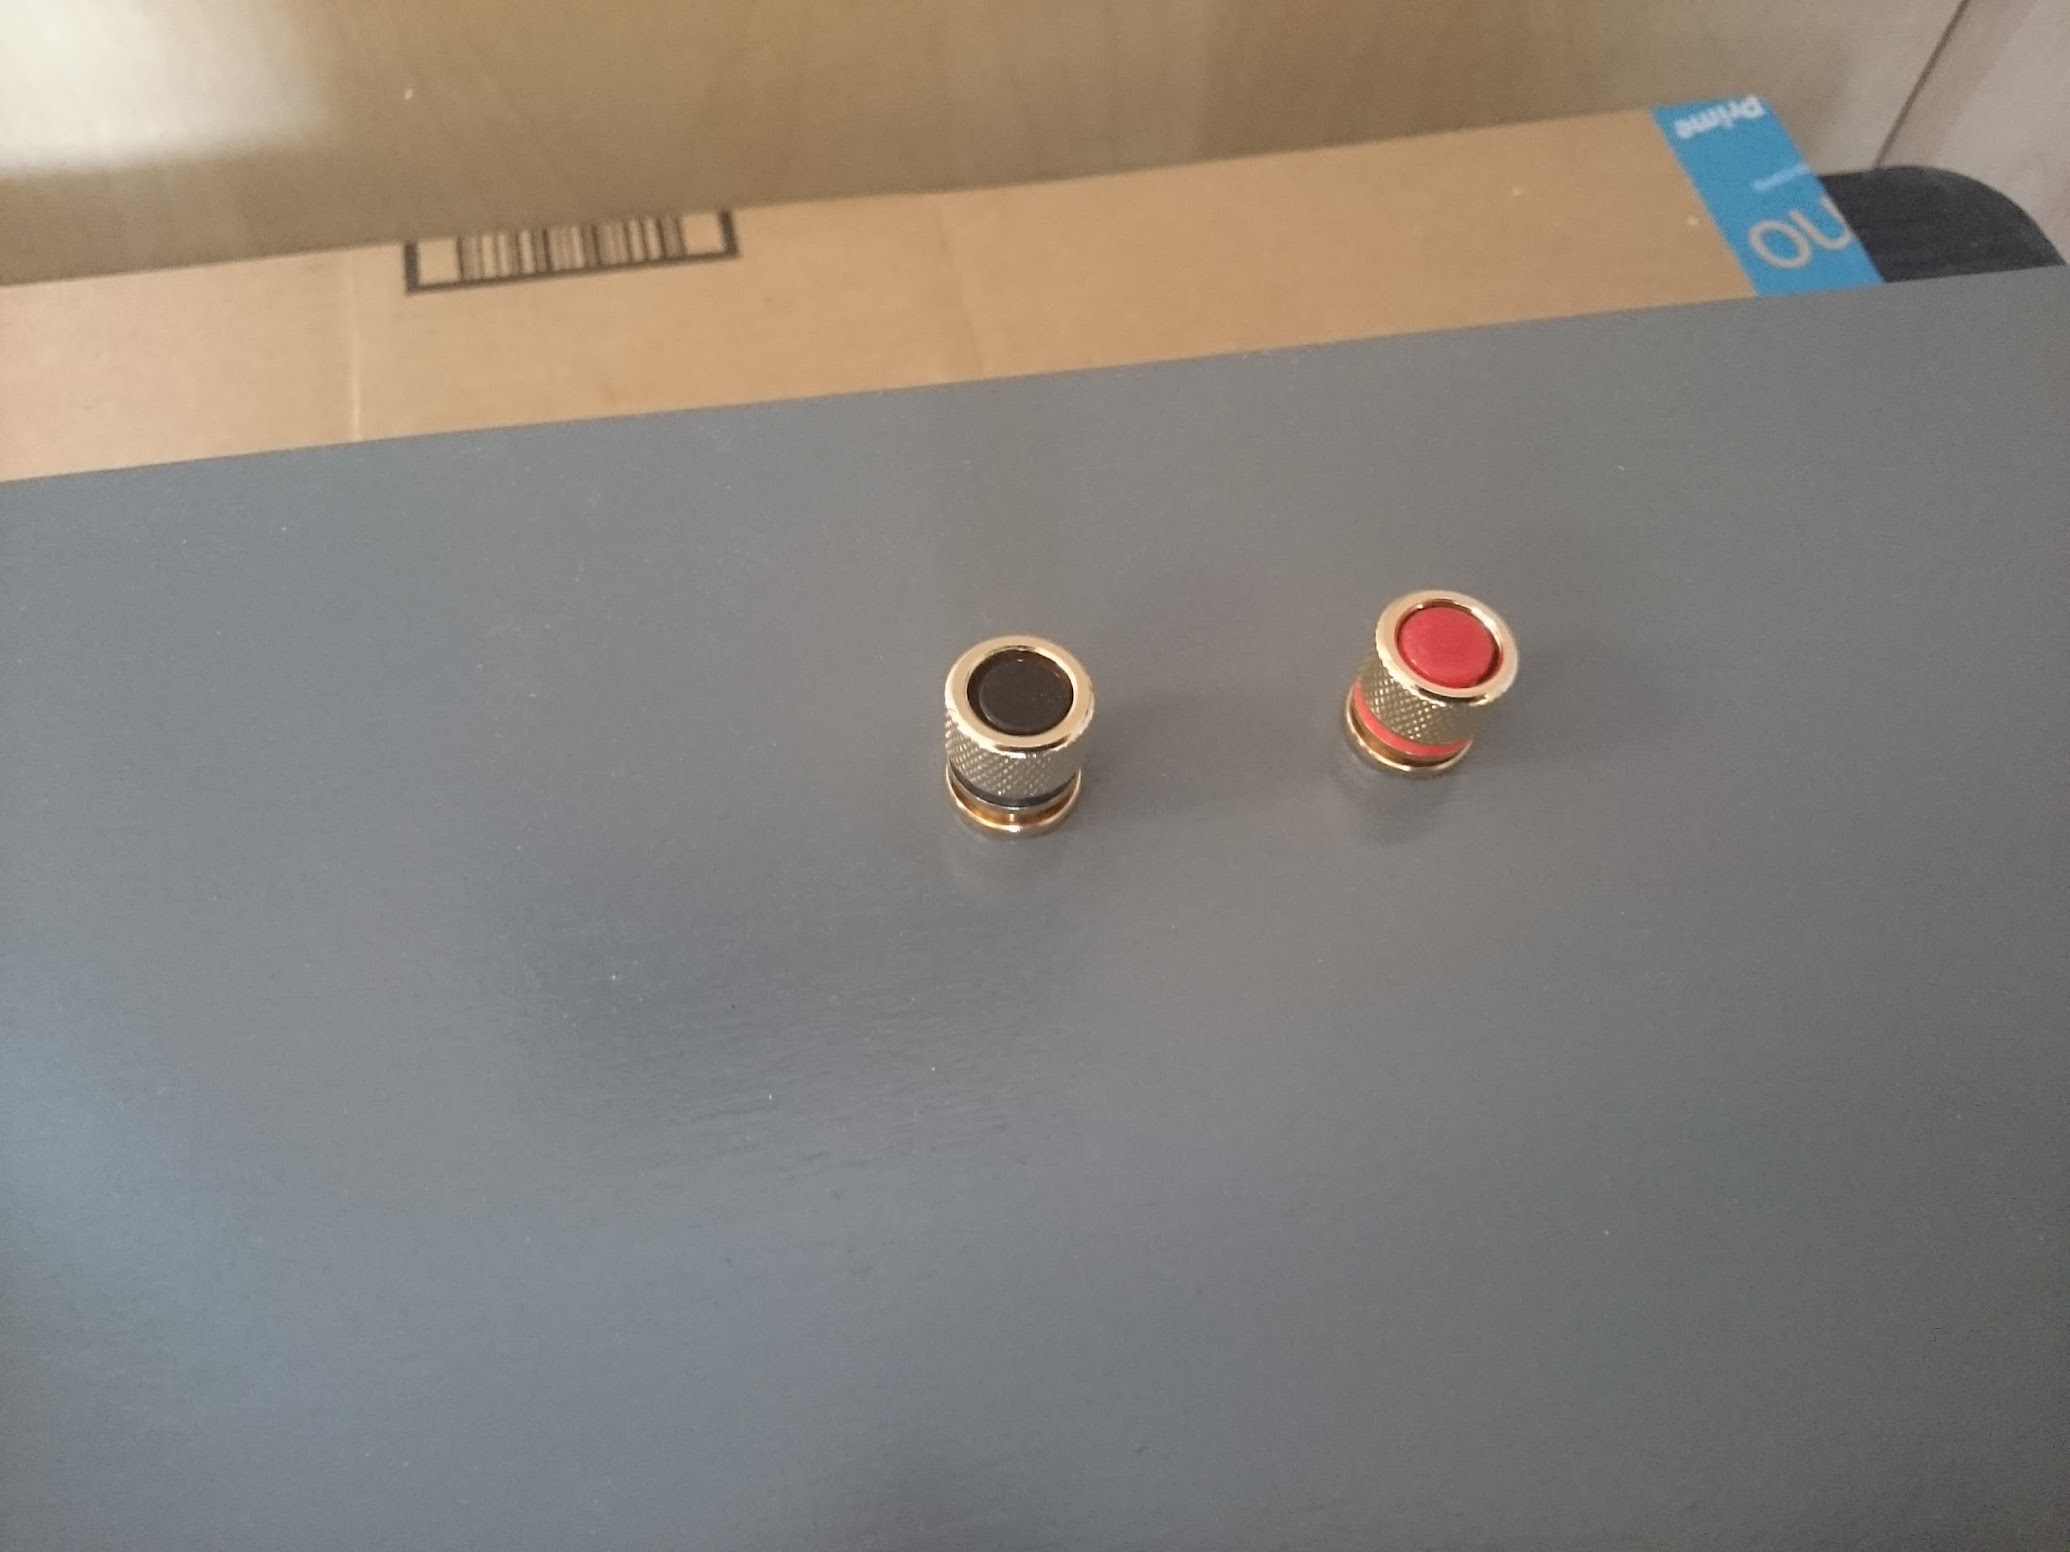
Install the Binding Posts
I recommend installing the binding posts after drilling the screw holes in the cabinet. Once the binding posts are installed, you can no longer lay the case flat on its back.
Put the binding posts in the holes in the back that you drilled before spray-painting, unscrew the terminals a little (so that the plastic color coding is protected), put a piece of scrap wood over them and tap them in place with a rubber mallet.
Note: Make sure to align the binding posts such that the holes for the wires/banana plugs are neatly aligned.
At the end you get this:
Wiring Up The Driver
I used a little over a foot of speaker wire to connect the driver to the binding posts inside the cabinet. This extra wire gave me enough slack to comfortably attach the solder tabs to the binding posts in the back of the Voxel cabinet after soldering everything else in place.
First, I soldered the speaker wire to the tabs on the Tang Band driver. If you look carefully, you will see that one tab is a little larger and marked with a + sign that is somewhat hard to spot. So that’s the positive terminal.
The soldering on the Quarks crossovers did not go as well as I wanted, but doing some research it seems that I had the temperature on my soldering iron turned up too high. I set it to a little over 250 Celsius this time and the results were much better. There were no more issues with black spots forming on solder and the solder flowed really well once it got to the right temperature.
Unfortunately this shot turned out a little blurry:
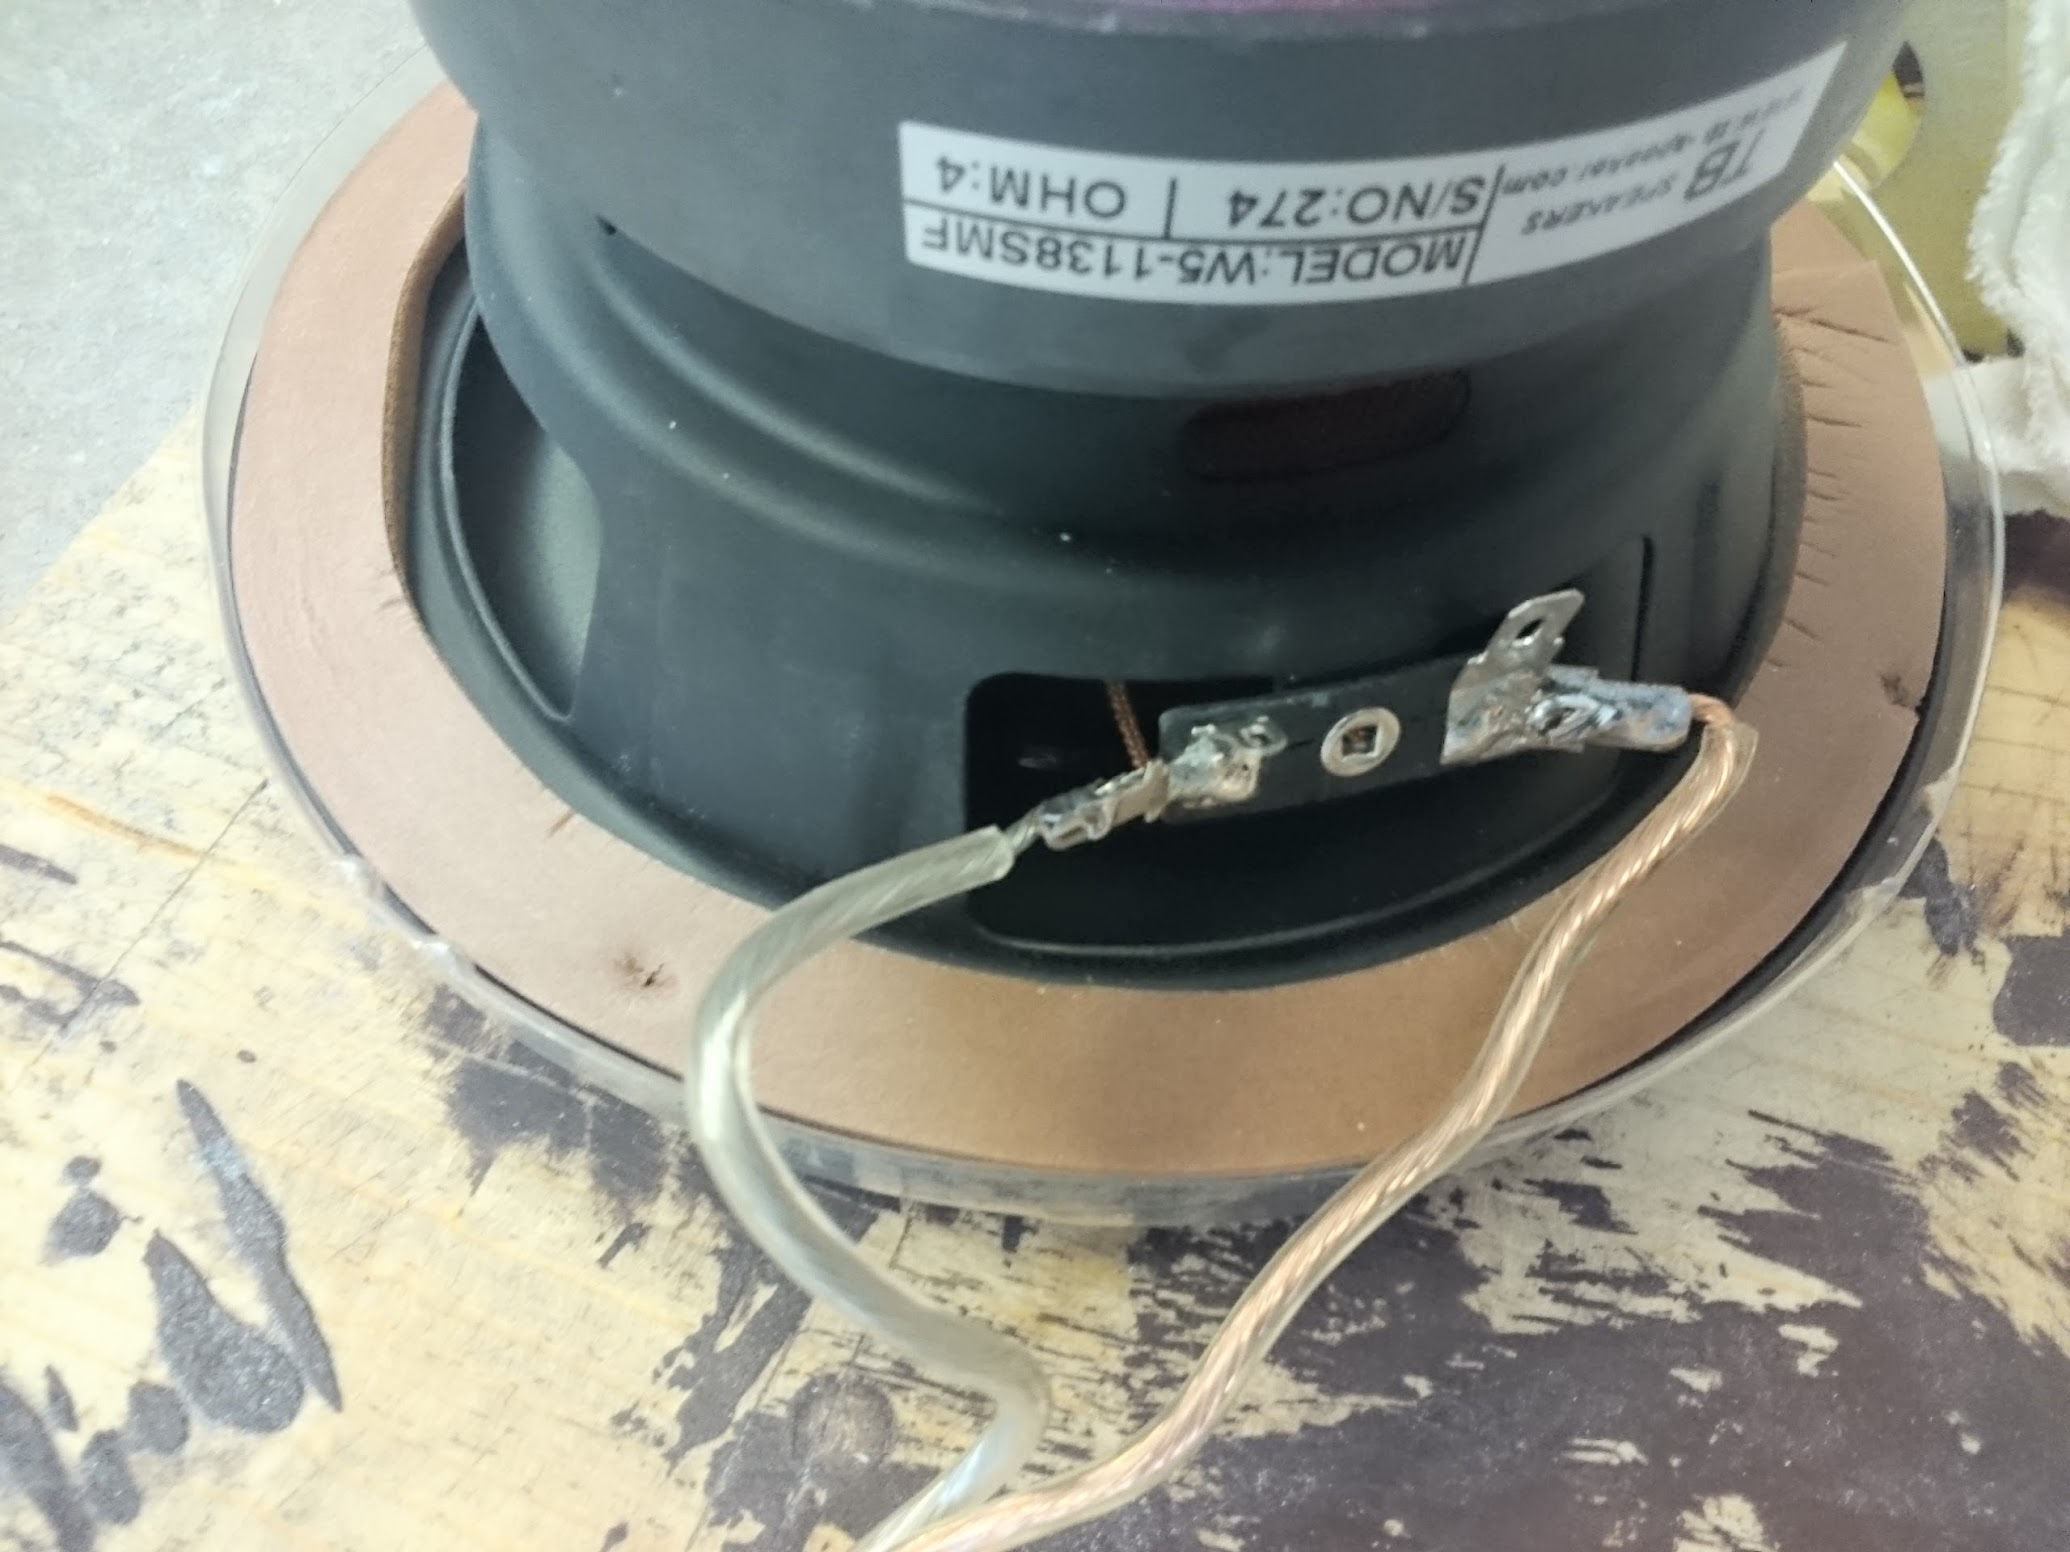
Again I used an alligator clip from a test lead to hold the wire in place while soldering. Also, I put a small piece of cardboard underneath the tabs while soldering, to prevent any damage of the speaker membrane should hot solder slide down from the tabs.
I soldered the tabs from the binding posts to the other ends of my wire, and then attached them to the posts in the back of the cabinet. Again I used needle-nose pliers to tighten things, but this time it was much easier than on the Quarks, since you can actually fit the pliers and your hand into the cabinet.
Also, putting the posts directly behind the speaker opening paid off and made this step a lot easier. Wiring is now complete:

Make sure to not reverse the polarity (ie: that the positive lead on the driver is connected to the positive/red binding post) when screwing the tabs onto the binding posts.
Also, as you can see in the second picture, I put the Voxel on two rolls of masking tape, since the binding posts stick out from the back of the cabinet, which means you can no longer lie it flat on its back.
The scratched side of the cabinet is the underside, where I didn’t really care about avoiding scratches while spray painting.
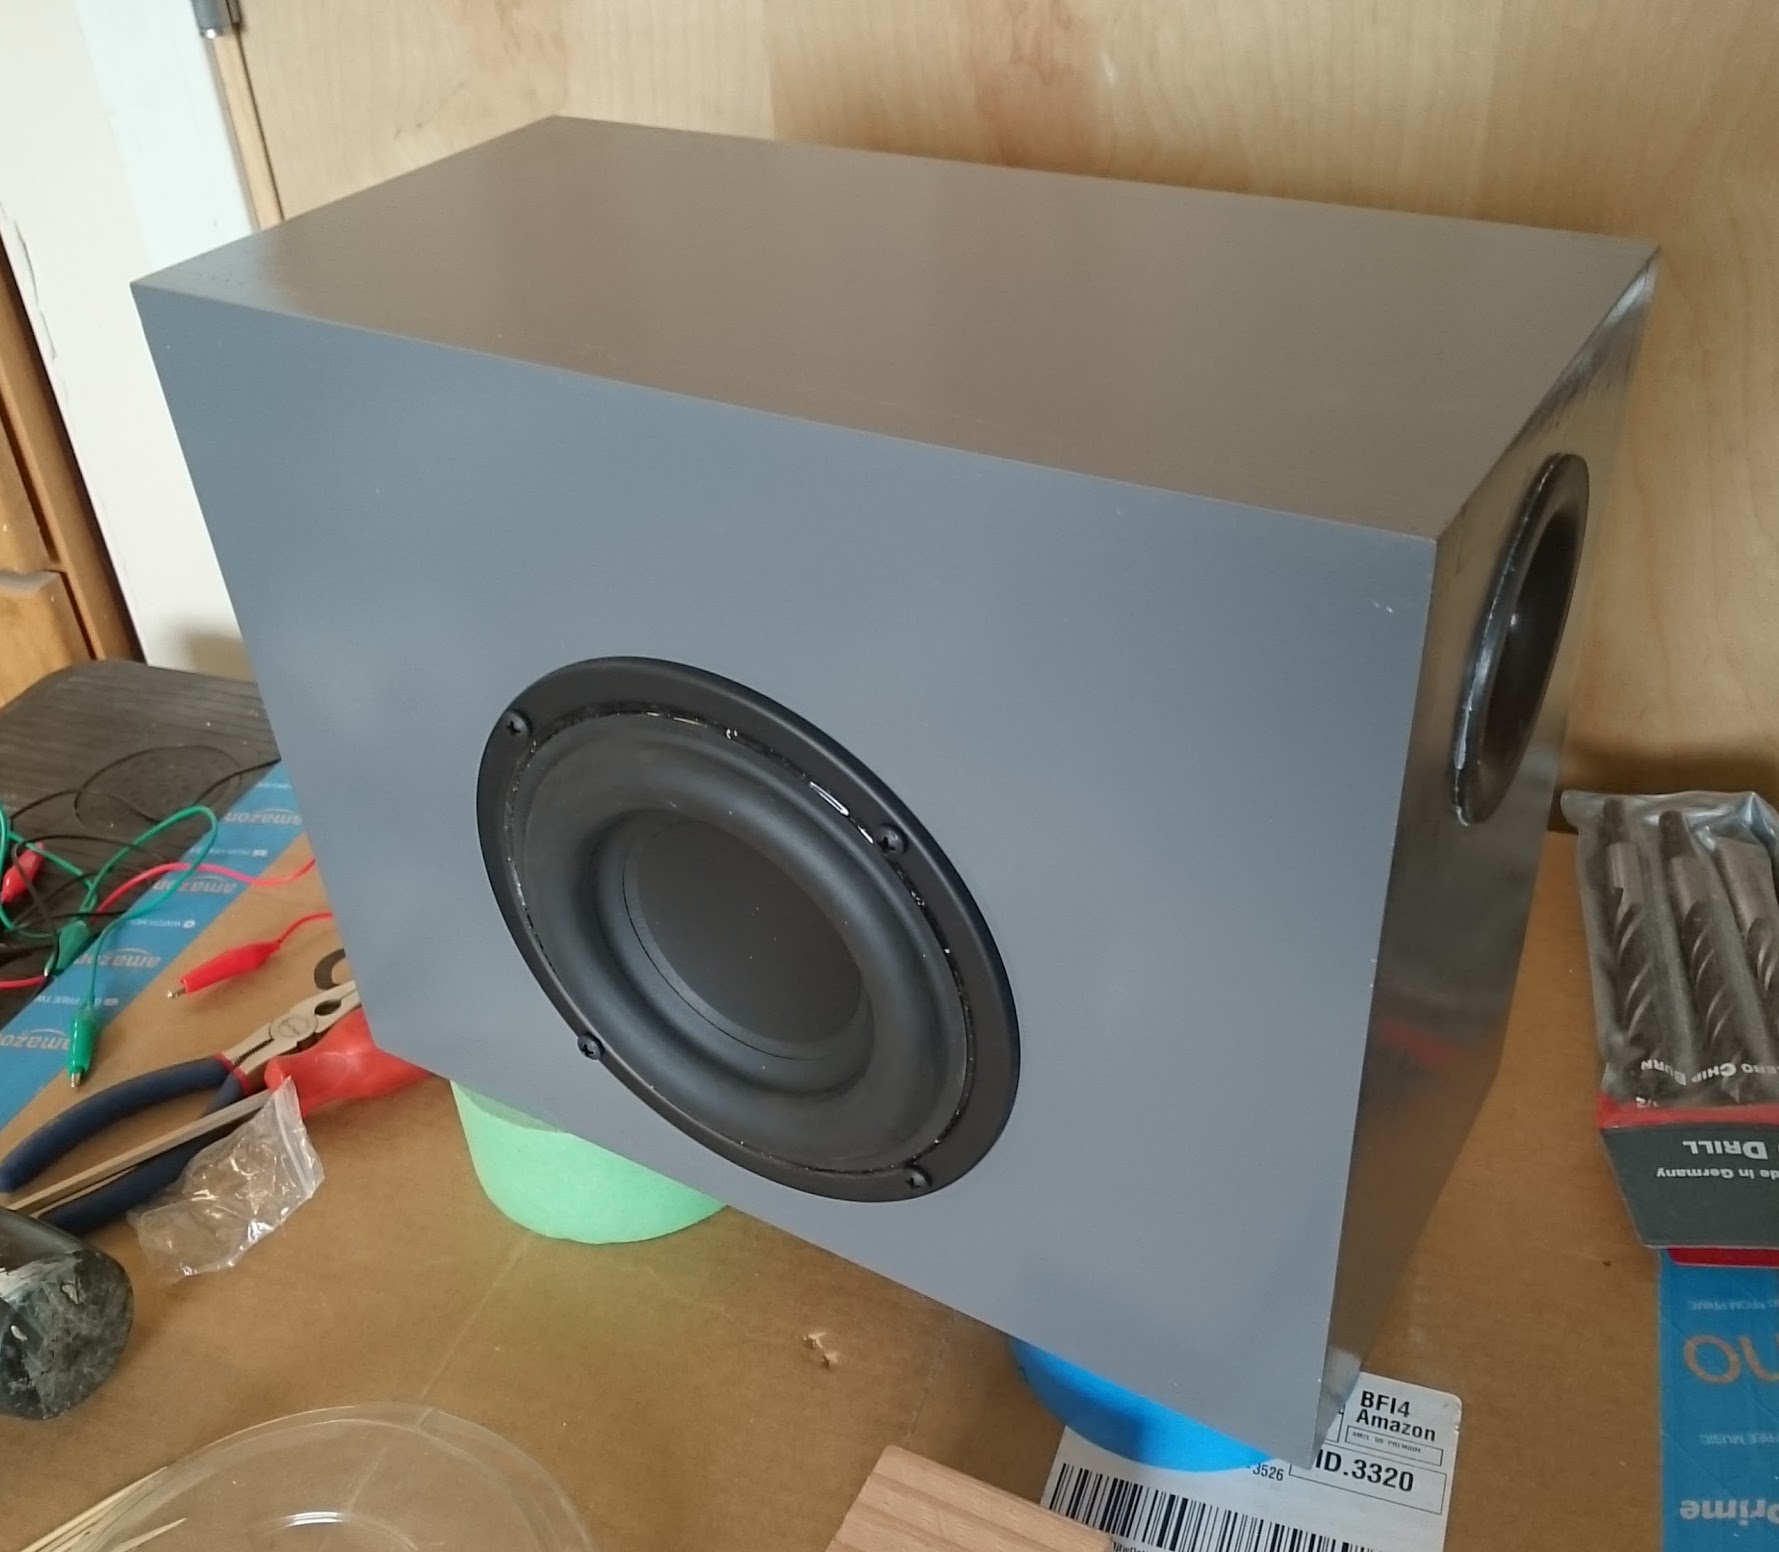
Installing The Driver
One final challenge is to screw the driver onto the cabinet without scratching the paint. I did that by putting a screw through each of the screw holes on the driver and then carefully lowered it in place and making sure the tip of each screw would line up with the pre-drilled holes in the cabinet.
Then tighten down each screw a few turns going around the driver a couple of times. I used one hand to firmly push down and turn the screw driver and the other hand to protect the driver membrane. You don’t want to poke a hole into the membrane should your screw driver slip…
Luckily the screw driver did not slip and I did not scratch the front. Put some stick-on feet on the bottom and the Voxel is done: